Downloading & installing VS Code with Python support
Visual Studio Code (VS Code) is a powerful and popular Integrated Development Environment (IDE) that will help you with IPKISS development. It allows running and debugging your scripts and helps organizing your files and design projects.
This guide will walk you through installing VS Code and configuring it for Python development with IPKISS.
1. Installing VS Code
Download the installer from https://code.visualstudio.com.
Run the installer and follow the setup wizard instructions
2. Installing the Python extension
In VS Code open the Command Palette with the Ctrl + P keyboard shortcut.
Copy/Paste
ext install ms-python.pythonin the dialog box and hit enter, the extension will now be installed.
3. Configuring the Python Environment
Setting up Conda
Now that VS Code and the Python extension are installed, you can continue to configure it to use the python interpreter distributed with the Luceda installer. This is necessary for VS Code to be able to run your IPKISS code.
Open VS Code Settings by either using the Ctrl + , shortcut or by navigating to in the menutree.
Search for ‘conda’ in the settings search bar
Add the path to your conda executable, this will depend on your platform and the location of your installation:
Windows default path:
C:\luceda\luceda_2026060\Scripts\conda.exeLinux default path:
$HOME/luceda/luceda_2026060/condabin/condaMacos default path:
~/luceda/luceda_2026060/luceda/condabin/conda
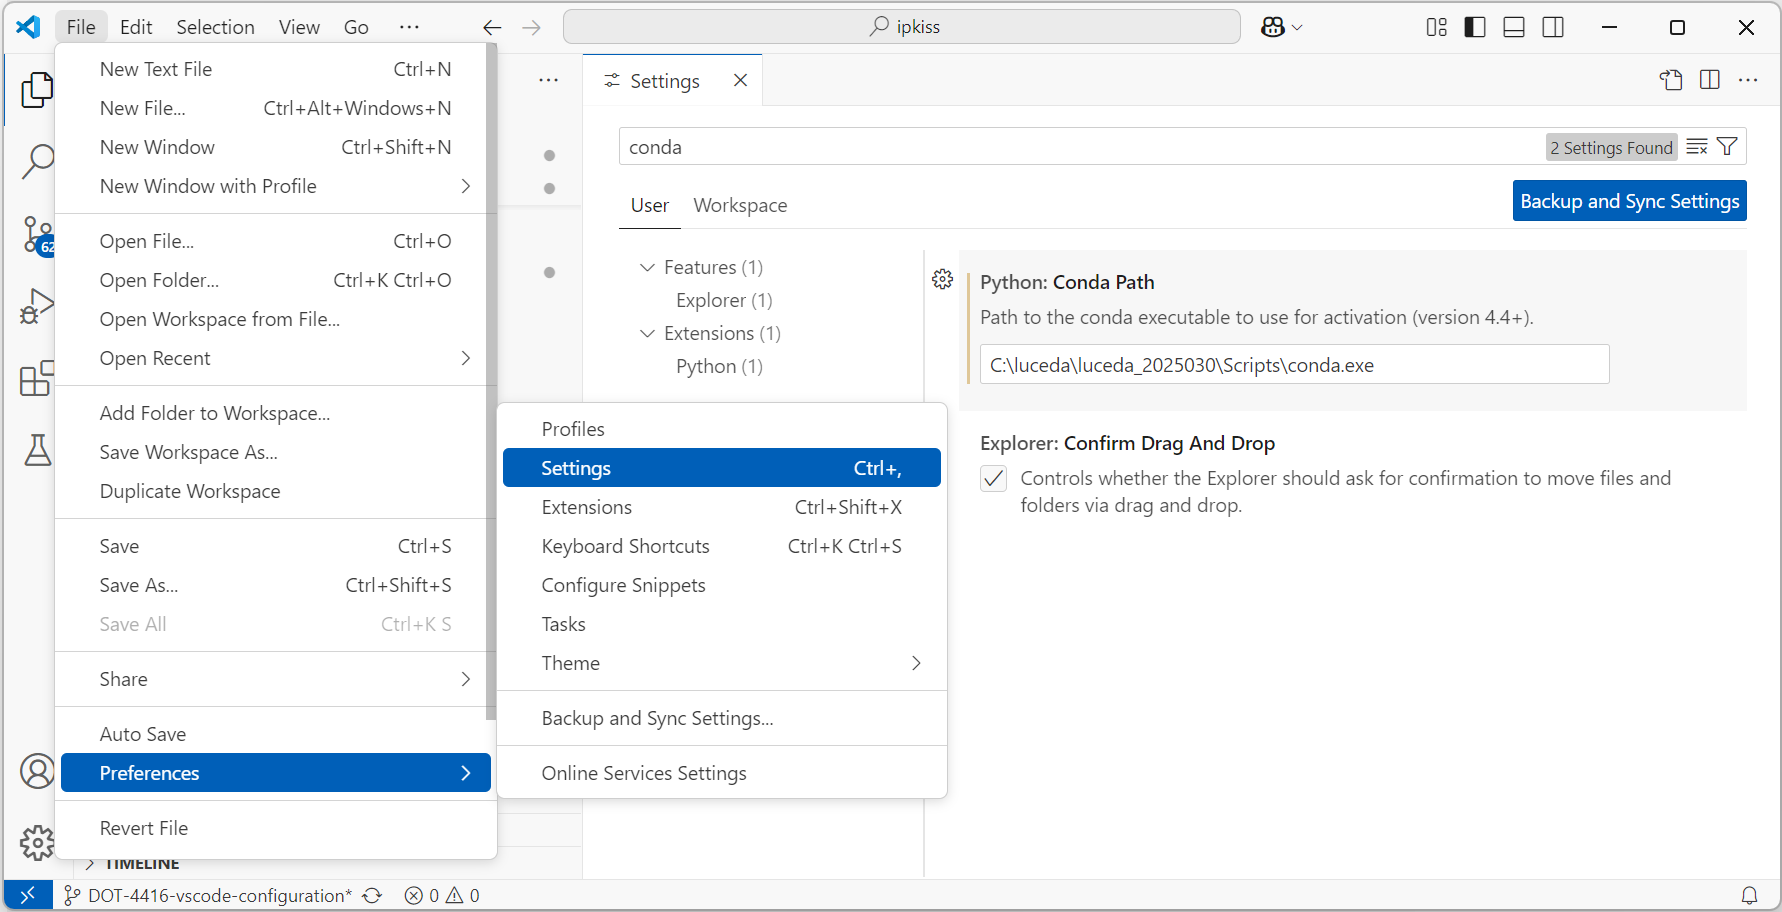
You can now close the settings page.
Selecting The Python Interpreter
Now the last step left is selecting the Python executable that is distributed with the Luceda installer:
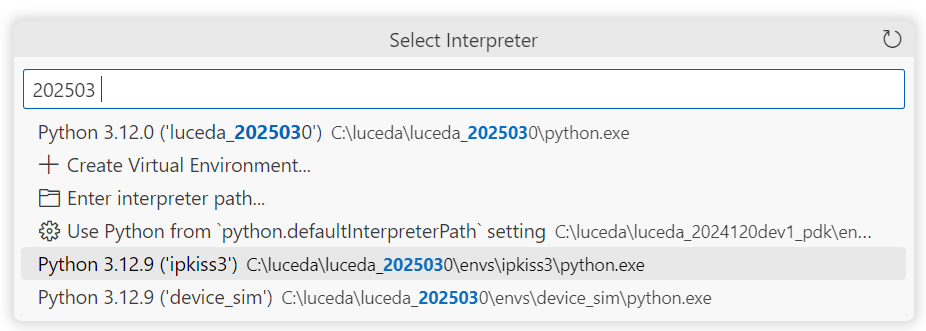
Open the Command Palette, press the Ctrl + Shift + P shortcut or use the menu to access it
Type “interpreter” and select “Python: Select Interpreter”
Search for “
2026060” in the dropdownSelect the ‘ipkiss3’ interpreter from the list
4. Verifying your configuration
Your VS Code should now be ready to be used with ipkiss, you can test that this is the case by executing the following steps:
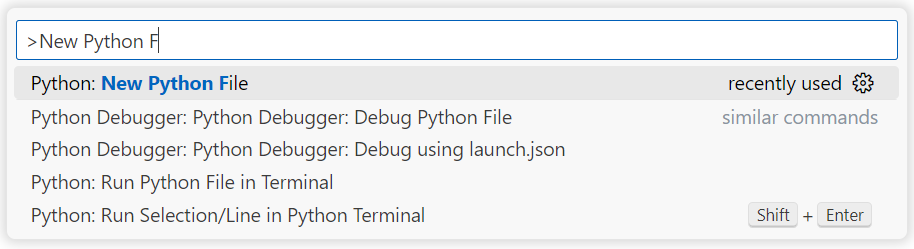
Create a new Python file
Open Command Palette Ctrl + Shift + P
Search for and select ‘New Python File’
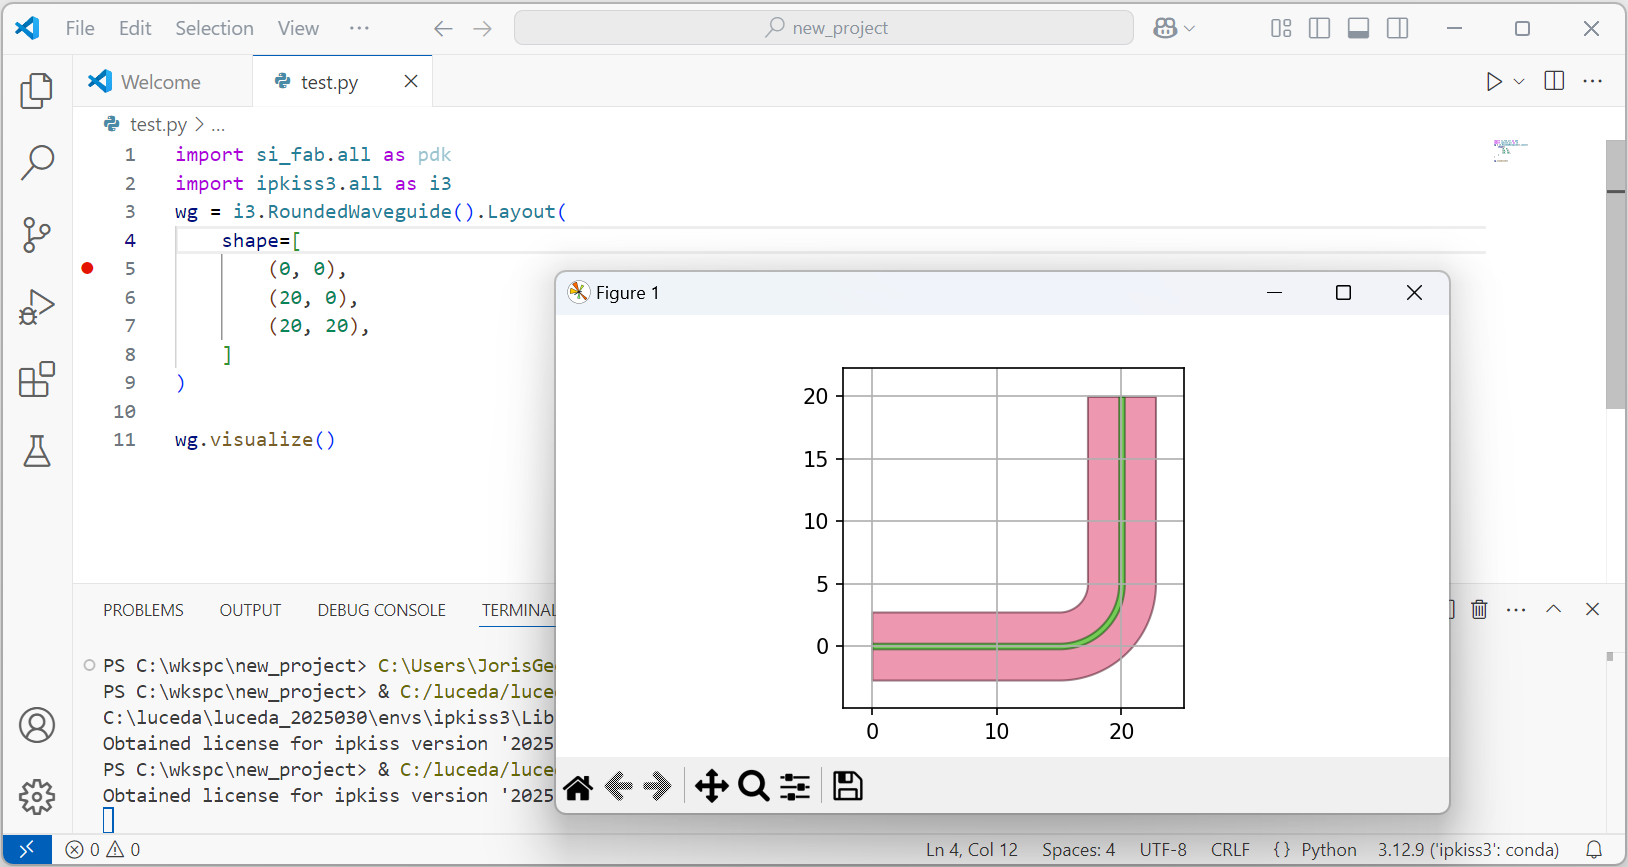
Copy and paste the following test code:
import si_fab.all as pdk
import ipkiss3.all as i3

wg = i3.RoundedWaveguide().Layout(shape=[
    (0, 0),
    (20, 0),
    (20, 20)
])
wg.visualize()
Run the code:
Right-click in the editor
Select Run Python File in Terminal
Save the file when prompted
If successful, you should see a visualization of a waveguide in the output window.