Installation on Linux
Note
Starting from the 2024.09 release, IPKISS can now be installed on Linux via an executable. The correct packages and conda environment will be installed automatically. On this page you can find the installation guide to get started with using IPKISS on Linux. If you would like to install an earlier version of IPKISS or look into the previous approach, the more advanced installation steps can be found here: installation Linux (advanced).
Note
When using Ubuntu Release 24+. Starting from our 2025.03 release, Canvas and Luceda Control Center will be launched with sandboxing disabled. Enabling sandboxing would result in our applications not launching. This is due to changes to these Ubuntu releases and is a known issue. If you want to know more about why this is the case, take a look a look at the Ubuntu 24.04 release notes.
This document explains how to install IPKISS on Linux.
Downloading the software
To download the latest version of the Luceda Photonics Design Platform, sign in or request an account on the Luceda customer portal. You will find a download link for the Linux executable in your personal account page.
We also advise you to use a Python IDE, more information on how to download and install one can be found here: Downloading & installing Python editor
Installing the software
The software can be installed by executing the downloaded script. The following steps assume you have downloaded the script into the Downloads folder.
The IPKISS installer is a simple bash script, execute it using the following command:
bash luceda-2025120-linux-64-py312-installer.sh
The install script will present you the following questions:
Do you accept the license agreement?
Which path do you want to install into? The default is:
$HOME/luceda/luceda_2025120If you prefer, you can specify another location here.
Do you wish to prepend the conda install location to the PATH environmental variable?
Question 3 will make sure that you have access to all the necessary tools when you launch a terminal. If you don’t have another anaconda distribution installed, we recommend that you execute this step. When you’re already using Python on your machine, you might want to be bit more cautious, to make sure that you don’t override the old configuration.
When the installation script successfully finished, you can continue by launching IPKISS.
Note
The installation can also be customized by providing extra options. The conda CLI options can be found here: https://conda.github.io/constructor/cli-options/. The most interesting one is -s, providing this with the installation script will not install Luceda Academy locally next to your IPKISS installation.
Launching IPKISS tools
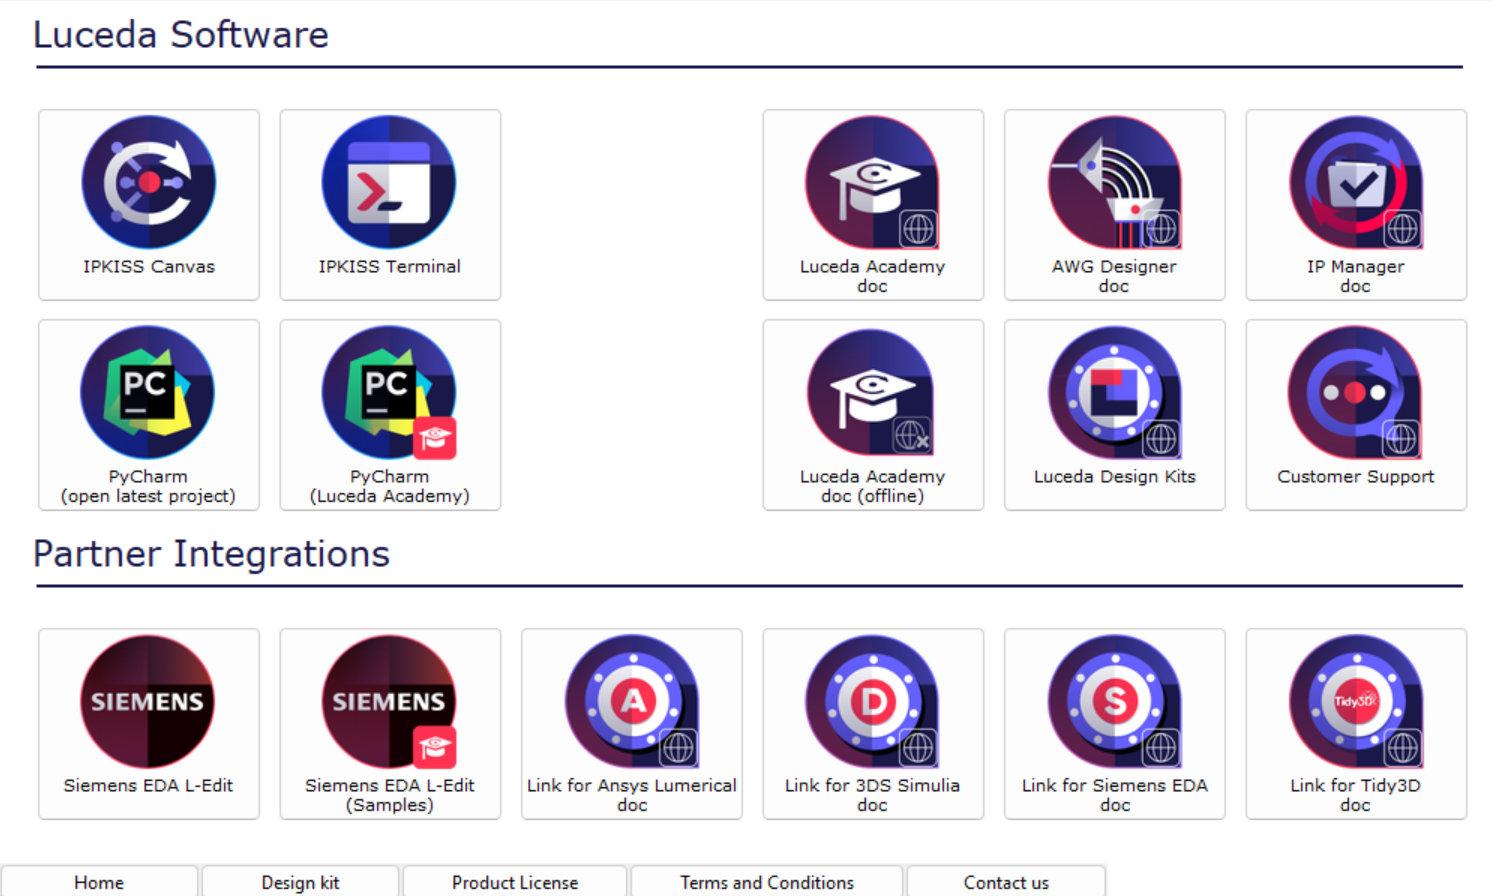
The easiest way to launch Luceda Control Center is through a desktop entry created by the installer.
An alternative option is to manually activate the right conda environment and launch it through the ipkontrol command.
The Anaconda distribution is built around ‘environments’.
When you create a new environment, you can install packages into this environment without changing other environments.
Right now, the IPKISS packages should have automatically been installed inside the ipkiss3 environment. To access the Luceda Control Center, you first need to activate this environment.
You can use mamba or conda for this. Assuming you installed IPKISS into the default environment one of the two following commands will activate the ipkiss3 environment.
mamba activate ~/luceda/luceda_2025120/envs/ipkiss3
or
conda activate ~/luceda/luceda_2025120/envs/ipkiss3
If you get the following error message:
CommandNotFoundError: Your shell has not been properly configured to use 'conda activate'.
To initialize your shell, run

    $ conda init <SHELL_NAME>
Execute first conda init bash (assuming you’re using the bash shell), restart your shell (source ~/.bashrc) and execute one of the two above comments again.
You can now start the Luceda Control Center by running the following command in the activated ipkiss3 environment:
ipkontrol

Luceda Control Center allows you to manage your installation and get access to useful resources.
Installing your license
You can activate your license by clicking on Add License in the Product License tab of the Luceda Control Center and selecting your license file.
You can also put the license file in the $HOME/luceda/luceda_2025120/envs/ipkiss3 manually.
More information about licenses can be found in the License types section.
If you have a floating license, please follow these instructions: Configuring a floating license.
Getting started
You are now ready to start diving into our software, a good starting point is Circuit layout.
The following content can also further help you to get started with IPKISS.
After executing setup-samples on the command line, Luceda Academy will be available in your home folder in ~/luceda/luceda_academy/luceda_academy_2025120.
You can also click on PyCharm (Luceda Academy) in the Luceda Control Center to open the Luceda Academy project.
To open the Luceda Academy documentation platform, click on the link in the Luceda Control Center or activate the environment and run luceda-doc from the IPKISS terminal:
mamba activate ~/luceda/luceda_2025120/envs/ipkiss3

luceda-doc
This will start a daemon, hosting the documentation through a web server. It will launch the default browser to show the documentation.
- From here on out, you can dive in the code:
These guides contain step by step instructions to create various examples.
The sample gallery is a collection of in depth examples.
The application examples provide demonstrations of complete photonic integrated circuits.
If you want to start your own projects, you will have to install design kits and configure your Python IDE (Integrated Development Environment). More information on these topics can be found in Installing Design Kits and Setting Up Your Environment.
If you face any issues with installation or licensing, please check our troubleshooting guide.
Configuring your IDE
When you configure your IDE to work with conda, you’ll need to make sure that the correct python executable is used. The setup is very similar to the setup on windows.